
I Built a Game Animation Tool inside Figma
Struggling with complex art software? Discover how I, a UX designer ditched industry standard tools like Krita and Adobe Animate to build a custom, animation workflow inside Figma for my new metroidvania, Returner.
I don’t know about you, but making art for video games is kinda hard especially if you have no art background like me. Unfortunately, I never seem to come up with game ideas that don’t require good art skills, and my current project is no exception.
I’m making Returner, a Metroidvania where you can possess any enemy and use their abilities for combat and traversal. As you can imagine, a concept like that requires tons of art.
The Search for the "Perfect" Software
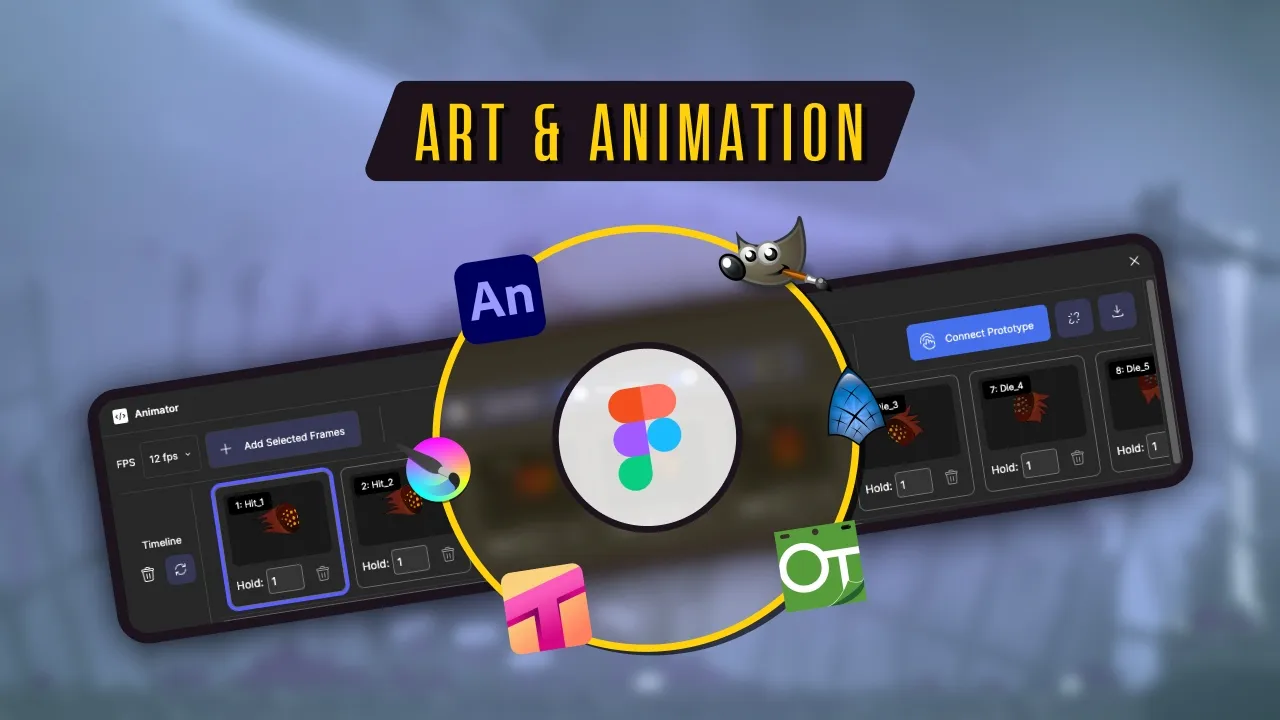
During my exploration for Returner’s development, I tried out so many art programs: Krita, GIMP, Adobe Animate, Tahoma2D, OpenToonz, SynFig, you name it. But none of them felt comfortable, even after weeks of practice. I know it takes years to master art and the general advice is to "be patient," but I really needed something I could pick up easily without a massive learning curve.
I had two strict criteria:
It had to be a vector program (I find vector art much easier for beginners).
It had to be free (or a one-time payment), which immediately ruled out Adobe Animate.
Trust me, I tried everything. I spent months settling on a choice. I initially did a ton of work in Tahoma2D before I bailed; it just felt too "professional," and the learning curve was too steep. SynFig could have been the one, but it was so buggy on Mac that it crashed constantly. I could barely save a file.
I tried to power through Tahoma2D, but I just wasn’t enjoying myself at all. At some point, I told myself: It’s hard enough to find the motivation to finish a game. Do I really want to make my art process even more tedious? So I did the only logical thing: I took some time off to strategize. Suddenly, I remembered... wait... I already know how to use Figma. And Figma is definitely capable of making vector art.
Realizing the "Professional" Trap
Why didn’t I think of this earlier? Why was I wasting so much time leaving my comfort zone?
I realized I just wanted to feel like I was being professional. That’s why I turned to all these traditional art softwares. Using Figma made me feel like I was not doing it the "right way." That was stupid. I’ve since realized that the result is the only thing that matters. You could use a stone tablet to draw your game art and no one would care, as long as the final game is fun and amazing.
So, I went back to Figma. Why? Well, I am a UX designer by day. I’ve used Figma daily for the past 6 years. I know the ins and outs; I could navigate the interface with my eyes closed. I was more comfortable there than anywhere else.
The Missing Pieces
Unfortunately, Figma isn't a traditional art program. It hit my vector criteria, but it lacked the most important feature: an animation timeline. I couldn't even use onion skinning.
But I didn’t let that stop me. I did the only logical thing: I built the timeline myself. I wrote my own Figma plugin with onion skin support and a sprite sheet exporter. It’s not the most performant tool out there, but it’s simple and it works. It was exactly what I was looking for something easy to use without the endless features for "pro" animators that I had no interest in being.
Figma Components
In Figma, "Components" allow you to draw parts of your character and reuse them everywhere kind of like prefabs in Unity or scenes in Godot. If I make a change to the Main Component, that change applies to every single instance across my entire project. This keeps my art consistent, even if it’s still a bit rough around the edges.
My Custom Animator Plugin
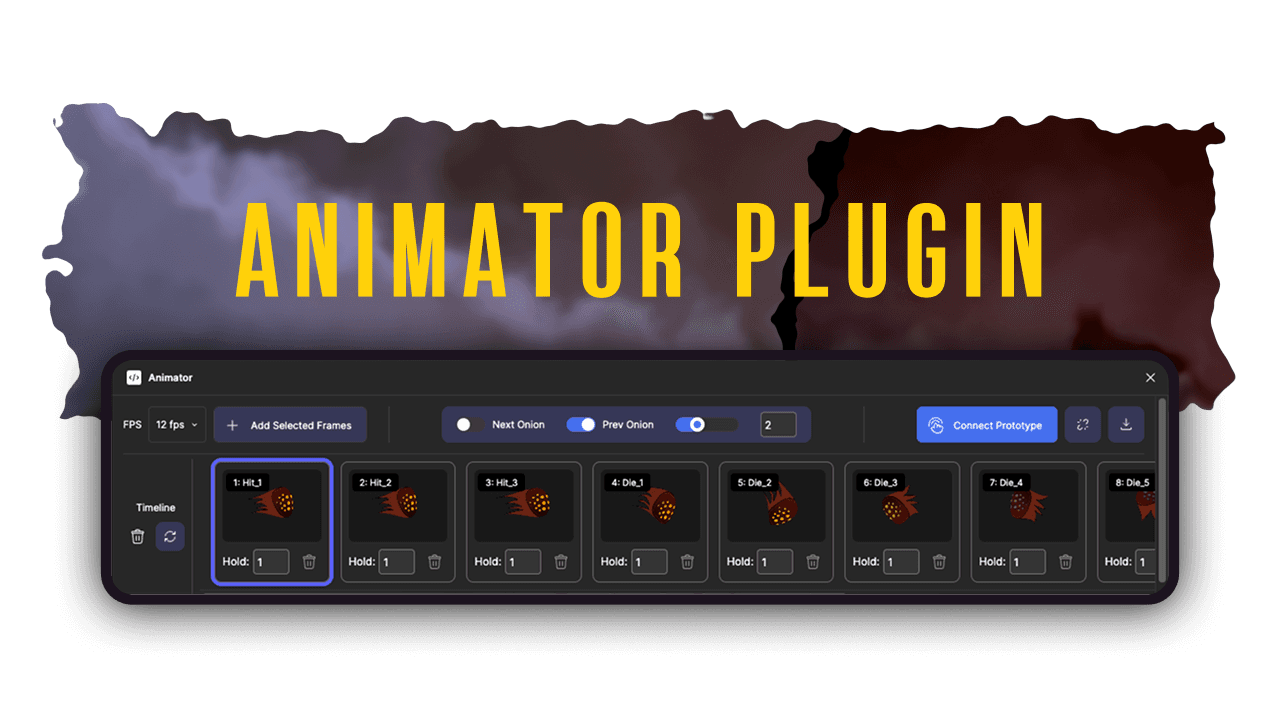
Since Figma doesn't have native onion skinning (the ability to see the previous/next frames while drawing), I used my HTML and TypeScript skills to build it into my plugin.
I also automated the Prototype feature. Normally, to preview an animation in Figma, you have to manually drag nodes between frames to connect them. It's tedious. My plugin allows me to:
Add multiple frames to a timeline.
Toggle Onion Skinning.
Automate the connections with a single click.
Set a custom playback frame rate.
Spritesheet Exporter
The final hurdle was getting the art into the game engine. Initially, I was manually arranging frames and exporting them completely unsustainable. Now, I just select my frames in the plugin, click "Export," and I get a 4-column spritesheet ready for the engine.
Is It Worth It?
It took me about a week of part-time dev work to build this plugin and workflow. In my eyes, that’s a bargain compared to the months it would take to master a professional art suite. Plus, developing personal processes like this adds a layer of uniqueness to a game that can't be easily replicated.
I’m not advocating for you to go out of your way to build an elaborate software or process for your game dev journey, I just think it’s very important to get yourself close to a process that reduces the tediousness of gamedev as much as possible. For me, that was finding a way to make use of a software I was already used to for 6 years to make my art.
While this makes my process easy, it does not magically solve my art deficiencies. I am still doing a lot of studying, learning and experimentation to make sure I produce something of quality. It’s just easier for me than it would have been.
Conclusion
I hope you enjoyed this "DevStory." It’s a bit less technical than a standard devlog, but it’s the kind of thing I wish someone had told me when I started. I plan on doing more of these stories alongside my regular progress updates.
What do you think of this workflow? If you want to follow my journey with Returner, feel free to subscribe or join the conversation over on Discord!
See you next time.